Editorial check: October 5, 2026. Official release: September 17, 2026.
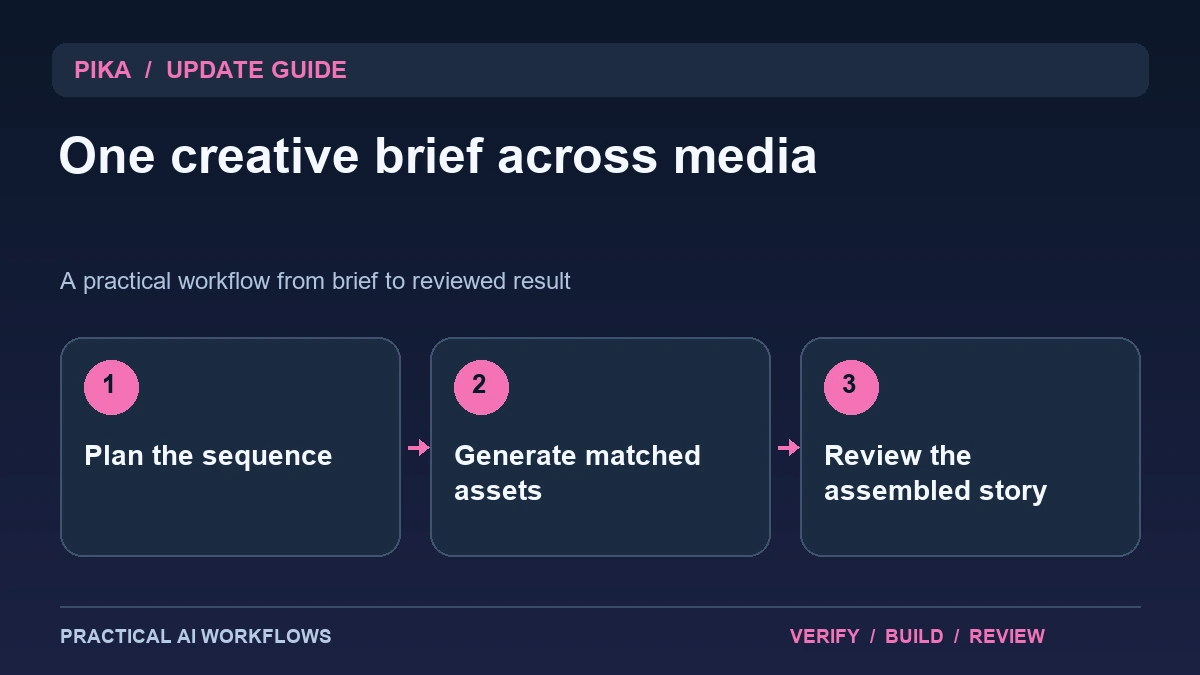
Illustration: an original editorial workflow graphic created for this article.
What the redesigned workspace brings together
Pika's September 17 announcement describes a workspace combining video, image, and sound creation with focused creative apps and multiple underlying models. The useful distinction is between the job you want to do and the generation technology selected for that job. A platform containing several models does not mean their output limits, behavior, or suitability are interchangeable.
Start with a small project whose message you can explain in one sentence. A short product concept, tutorial introduction, or social story is easier to review than a campaign generated in one broad request. Define the sequence and the assets needed before choosing tools. This guide explains how to keep a shared creative brief across media, evaluate individual assets, and inspect the assembled story so the convenience of a combined workspace does not hide inconsistencies.
Create an asset plan from the story
Write the spoken or on-screen message first. Divide it into scenes and record what each scene must communicate. For every scene, list the image or clip, duration, sound requirement, and transition. Avoid generating background music simply because a music tool is available; decide whether it supports the message.
Prepare a style sheet with aspect ratio, palette, subject description, tone, and fixed brand details. Use scene identifiers and version names so assets remain traceable. Distinguish exploratory concepts from factual representations of a product. If a scene needs exact labels or numbers, plan to add reviewed text in an editable layer. A useful asset plan turns a collection of model choices into a production sequence, with a reason for each generation and a clear place for reviewing it.
Continue the workflow: ElevenLabs MCP: Plan an AI Video Studio from Script to Reviewed Export.
Choose the app and model by the task
Identify whether the job requires creating a new scene, editing an existing asset, extending motion, or adding sound. Consult the current product guidance for the supported inputs and outputs. Run a small example and inspect what the selected configuration actually returns before generating the full sequence.
Keep settings and prompts where available. If you compare alternatives, hold the important parts of the brief constant. Do not assume a more expensive or newer model is the best fit for a simple correction. Review whether it preserves your source asset, follows the action, and produces a file suitable for the next stage. Record failures as well as accepted results. This gives you a practical basis for future selection instead of relying on a model name or a striking demonstration.
Review sound in context, not in isolation
Listen to the narration and background sound together. Check pronunciation, pacing, music level, and whether effects follow the visible action. A sound effect that is impressive on its own may distract from the explanation or imply an event that never appears in the clip.
Keep essential narration understandable and save separate tracks where the workflow permits. Review the sequence without sound as well, because some viewers will watch silently. Captions and on-screen copy should preserve the intended meaning. Use voices and reference material you are authorized to use, and avoid presenting synthetic speech as a real person's statement. The goal is a coherent communication asset whose audio supports the visual story and remains manageable during revision.
A worked example: a short research-tool explainer
A fictional tutorial introduces three actions: collect references, compare evidence, and write a brief. The asset plan specifies one visual per action and a short narration. The same palette and aspect ratio apply throughout. Generate a sample visual and voice segment first and approve the direction before producing the remaining assets.
Assemble the sequence and ask a reader unfamiliar with the tool to explain the steps. If the second scene looks attractive but communicates nothing about comparison, revise it specifically. Inspect transitions and captions at phone size. Save the approved sequence and its component assets. This example uses the combined workspace to coordinate production while evaluating each asset against a shared message.
Continue the workflow: Runway AI Video: Plan Better Shots and Edit the Results.
Keep creative alternatives from breaking the final sequence
A combined workspace makes it easy to generate a new image, sound, or clip whenever a sequence feels unfinished. That convenience can also weaken continuity. Suppose a fictional launch video uses a calm product close-up, followed by a dramatic clip with different lighting and a loud musical accent. Each asset may look strong alone while the sequence feels incoherent. Review the transition and the purpose of each shot before generating more alternatives. Write down the consistent visual and audio choices the project should preserve.
Use a short sequence board with the approved asset, intended duration, spoken message, and transition for each position. Replace one asset at a time and compare the whole sequence after the replacement. Check whether the new clip changes the apparent product, setting, pace, or emotional tone. A shared workspace helps organize production, but it cannot decide whether the assembled story is understandable. Keep a clear rejected-versus-approved distinction so an unused experiment does not slip into the final export. Before delivery, play the sequence without sound and then listen without watching. Those two passes reveal missing visual context and audio that depends on information the listener may not have noticed.
Keep the workflow reproducible and selective
Archive the brief, script, scene plan, accepted assets, and exported result. Include the configuration and review notes needed to update the project later. Inspect the final file outside the workspace to confirm playback, cropping, and sound. Do not rely solely on the editor preview.
Measure total generation and repair effort. If one stage repeatedly fails, simplify the brief or move that stage into a conventional editor. A combined workspace is valuable when it reduces handoff friction without reducing scrutiny. Reuse the process for another project only after you understand its strengths and limitations. The update offers more ways to create in one place, while a dependable production loop still depends on a clear plan, selective generation, and a final review that connects every asset to its purpose.
Frequently asked questions
When was the new Pika announced?
The official launch article is dated September 17, 2026. This guide reviews the documented workspace rather than claiming it launched on the editorial check date.
Are all models equivalent?
No. Verify supported inputs, output limits, and behavior for the chosen job. A shared interface does not make different generation configurations interchangeable.
What should be planned first?
Start with the message and scene sequence, then list the assets needed. A style sheet and naming scheme keep video, images, and sound coherent.
How should sound be reviewed?
Listen with the visuals and narration, then check the silent viewing experience. Sound should support the message rather than compete with it.
Should every stage use AI generation?
Use it where it helps. Exact text, layout, or a difficult repair may be more manageable in an ordinary editor than repeated generations.
What should be saved?
Keep the brief, script, scene plan, approved assets, relevant settings, review notes, and final export so later revisions remain traceable.
Resources and references
Official references checked on October 5, 2026. Consult the current documentation for access, setup and limitations.