
Editorial check: October 5, 2026. Official release: October 2, 2026; changelog covers October 1.
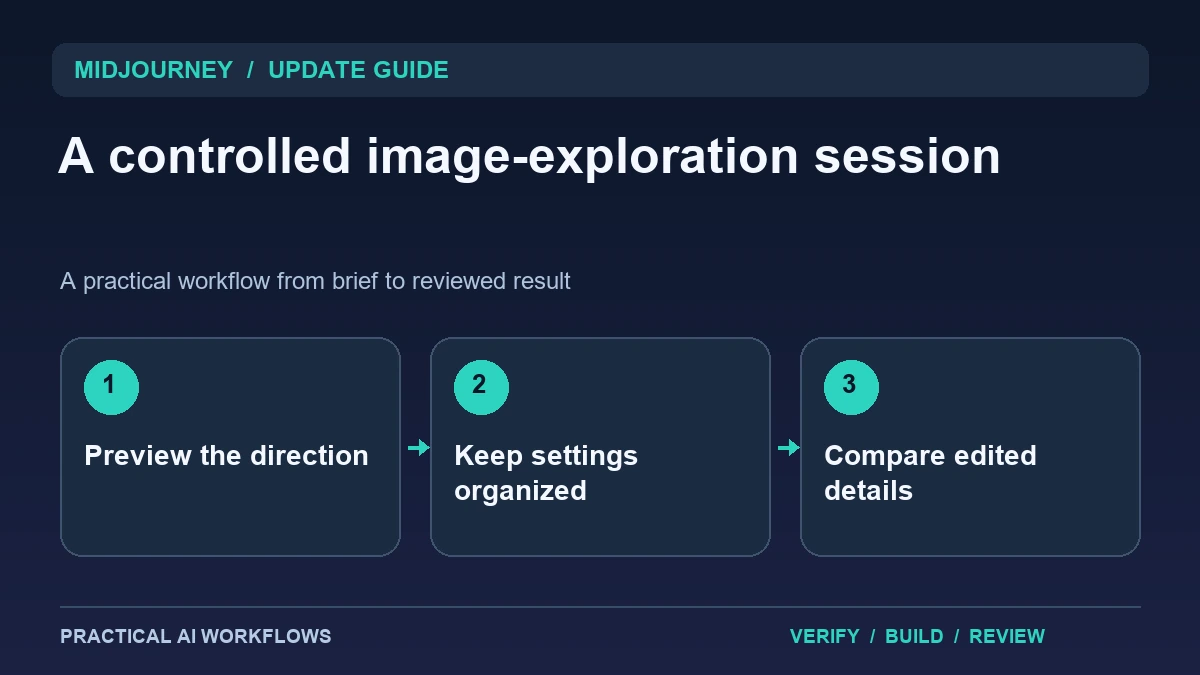
Illustration: an original editorial workflow graphic created for this article.
What the alpha changelog documents
Midjourney's October 2 post, titled Alpha Changelog 10/1/26, describes style-preview and folder-setting improvements, reference controls, editing behavior, and interface fixes. It notes that edits retain the base image's aspect ratio and that prompt parameters have session-specific folder behavior. Planned collaborative tools are discussed as future work, so they should not be treated as already available features.
The practical opportunity is a more deliberate exploration process. Keep the visual direction, prompt settings, and editing reference understandable as you move between concepts. A preview helps choose a direction, but it does not guarantee the final generation will reproduce every feature of the sample. This guide explains how to use a controlled session, retain accepted versions, and inspect edits against the original asset instead of relying on the interface's convenience alone.
Separate visual direction from content requirements
Write what the image must communicate and what its composition must contain. Keep style choices such as palette, lighting, and texture separate from fixed content such as the subject's shape or the placement of an important object. That separation helps you evaluate a style without losing track of the actual brief.
Preview a few directions and choose one for a bounded trial. Avoid treating each attractive sample as a reason to rewrite the project. Record the selected direction and settings where available. If the image is a concept, label it as such in the project record. If it represents an actual product, keep a verified reference alongside it. A controlled brief lets you explain why a result was accepted and makes later revisions easier to judge.
Continue the workflow: Ideogram 4.5 Image Editing: A Controlled Workflow for Product Graphics and Banners.
Organize folder settings and references deliberately
Use descriptive folders for separate projects or visual experiments. Check the current session's settings when entering a folder rather than assuming every parameter persists across all contexts. Keep a brief note of the choices important to the project, including aspect ratio and the references used.
If you mix references, inspect the resulting prompt and controls before generating. An unintended reference can influence the whole result and be difficult to diagnose later. Change one important setting at a time when comparing outputs. Save the accepted prompt and output together so a teammate can understand the experiment. Interface improvements reduce friction, but an explicit record remains useful when a session ends, settings change, or an image needs to be recreated for another placement.
Review edits against an untouched original
Keep the base image before making an edit. Define the target region and intended change, then inspect the result beside that base. Check dimensions and aspect ratio as well as the subject. A corrected background can still introduce altered edges, text, or product geometry.
Review the image at full size and at its intended display size. Fine defects can be hidden in a thumbnail, while a composition that looks balanced in the editor may crop poorly on the destination. Retain each accepted stage with a clear name. If repeated edits drift away from the brief, return to a clean version instead of continuing to repair a compromised one. The useful editing workflow preserves a reliable reference and makes every change accountable to the original goal.
A worked example: a fictional campaign image
A fictional studio creates a concept showing a notebook on a desk. The brief fixes the notebook position and leaves room for a headline. The designer previews several visual directions, selects a restrained one, and runs a small set of matched generations.
After choosing a composition, the designer edits only the background and compares the result with the accepted base. The headline is added separately as reviewed editable text. A square version and a wide banner are inspected individually rather than assuming one automatic crop serves both. The project record includes the prompt, references, settings, accepted base, edited output, and destination. This example tests organization and preservation without claiming that a style preview can guarantee an exact final image.
Continue the workflow: Canva's Meta Muse Connector: A Practical Workflow for On-Brand Design Drafts.
Separate an editing defect from an organizational mistake
When an edited image seems to use the wrong style or proportions, first confirm that you are inspecting the intended base image and current settings. Similar thumbnails can make an older experiment look like the approved asset. Give selected outputs a recognizable project label and keep a short record of their intended use. Compare the exact base and edited files side by side. This helps distinguish a generation problem from a folder or version-selection mistake before you spend time producing more variants.
For a fictional product banner, define the protected characteristics: product outline, space for the headline, main color relationship, and required crop. Review each edit against those characteristics rather than comparing only overall attractiveness. Test the image in the real banner frame; a composition that looks balanced in a full preview may lose its subject when cropped. Save a flattened review copy with the destination dimensions and retain the original separately. When a result fails, write one focused correction and inspect its consequence. A controlled sequence of edits is easier to evaluate than simultaneously changing style, framing, subject, and background. The best organizational workflow makes the approved image easy to identify and its remaining limitations easy to explain.
Keep alpha behavior and roadmap claims separate
Record the product environment and date of your trial. Alpha interfaces and settings can change, so a tutorial should explain the behavior observed or documented rather than presenting every control as permanent. Verify access in your account before planning a large production workflow around a preview capability.
Treat announced future features as a backlog item, not a dependency of work you need to finish now. Review accepted assets through the normal editorial and design process. Keep a correction path for factual details and export problems. The update is useful when it helps you explore more efficiently while retaining control over content, settings, and revisions. A dependable creative workflow still needs a clear brief, saved references, and a final inspection of the file that will be published.
Frequently asked questions
What date does this changelog cover?
The official post was published October 2, 2026 and is titled for October 1. Keep those dates distinct when describing the update.
Does a style preview guarantee the result?
No. Use it to choose a direction, then evaluate the actual generation against the content and composition requirements in your brief.
Are folder parameters permanently shared everywhere?
The changelog describes session-specific behavior. Check the settings in the current context and keep a separate record of important project choices.
Should planned collaboration features be assumed live?
No. The post discusses some work as upcoming. Confirm actual availability before making it a dependency of a project.
How should edits be checked?
Compare them with an untouched base image and inspect geometry, text, dimensions, and intended cropping. Save each accepted stage.
What belongs in the project record?
Keep the brief, prompt, references, important settings, accepted versions, export, and review notes. These make later revisions easier to understand.
Resources and references
Official references checked on October 5, 2026. Consult the current documentation for access, setup and limitations.